Templates are real a time saver. Ever since I have started
using it and I think it has reduced the time taken by me to create a blog post
have been reduced to half. I only use templates on my blogging tips post and my
journals post, so I thought that these are just two posts and creating a
template itself will take a huge amount of time, but they really did help me a
lot and it made my posts more organized and not to mention the impact of in on
my Pinterest.
Last time I have showed you how to create the template on Photoshop
(you can read all about it here) and today I am going to share with you guys
how to customize it as you wish. It is
so easy and once you knew how to do it I swear you will become addict to use
the templates from now on, just like what happened to me. You have to read partone to know the base of the template in order to know how to customize it.
STEP ONE: open your templates that you have saved,
you can do it by pressing (ctrl+O).
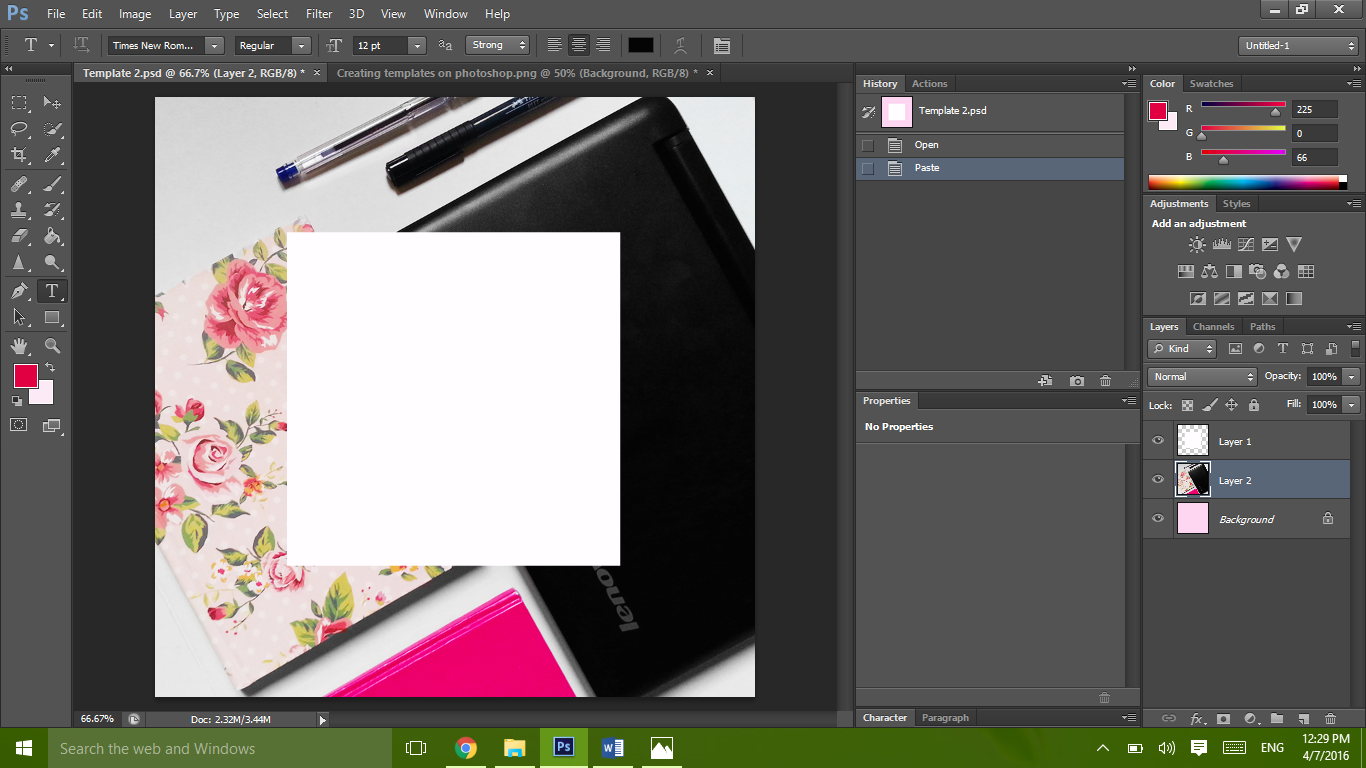
STEP TWO: open
the picture you want to use. Then copy
and paste the picture in your template. Here are the shortcuts you can use. Select all
(ctrl+A), copy (ctrl+C), paste (ctrl+V). Just don’t forget to be on your
background and not any other layer, so it your picture replace the background
you have chosen.
STEP THREE: re-size your image as suitable for your
template. (Ctrl+T) to resize it.
STEP FOUR: On your other layers you can change the
colors or add a text like I did here. You can change your blending options. I
like mine to be 80% opacity. I think that gives a nice effect to a picture.
I hope you found this post helpful, if you have any
questions about this tutorial or any questions concerning blogging, all you
have to do it leave a comment or visit my contact page and send me an email.


No comments:
Post a Comment