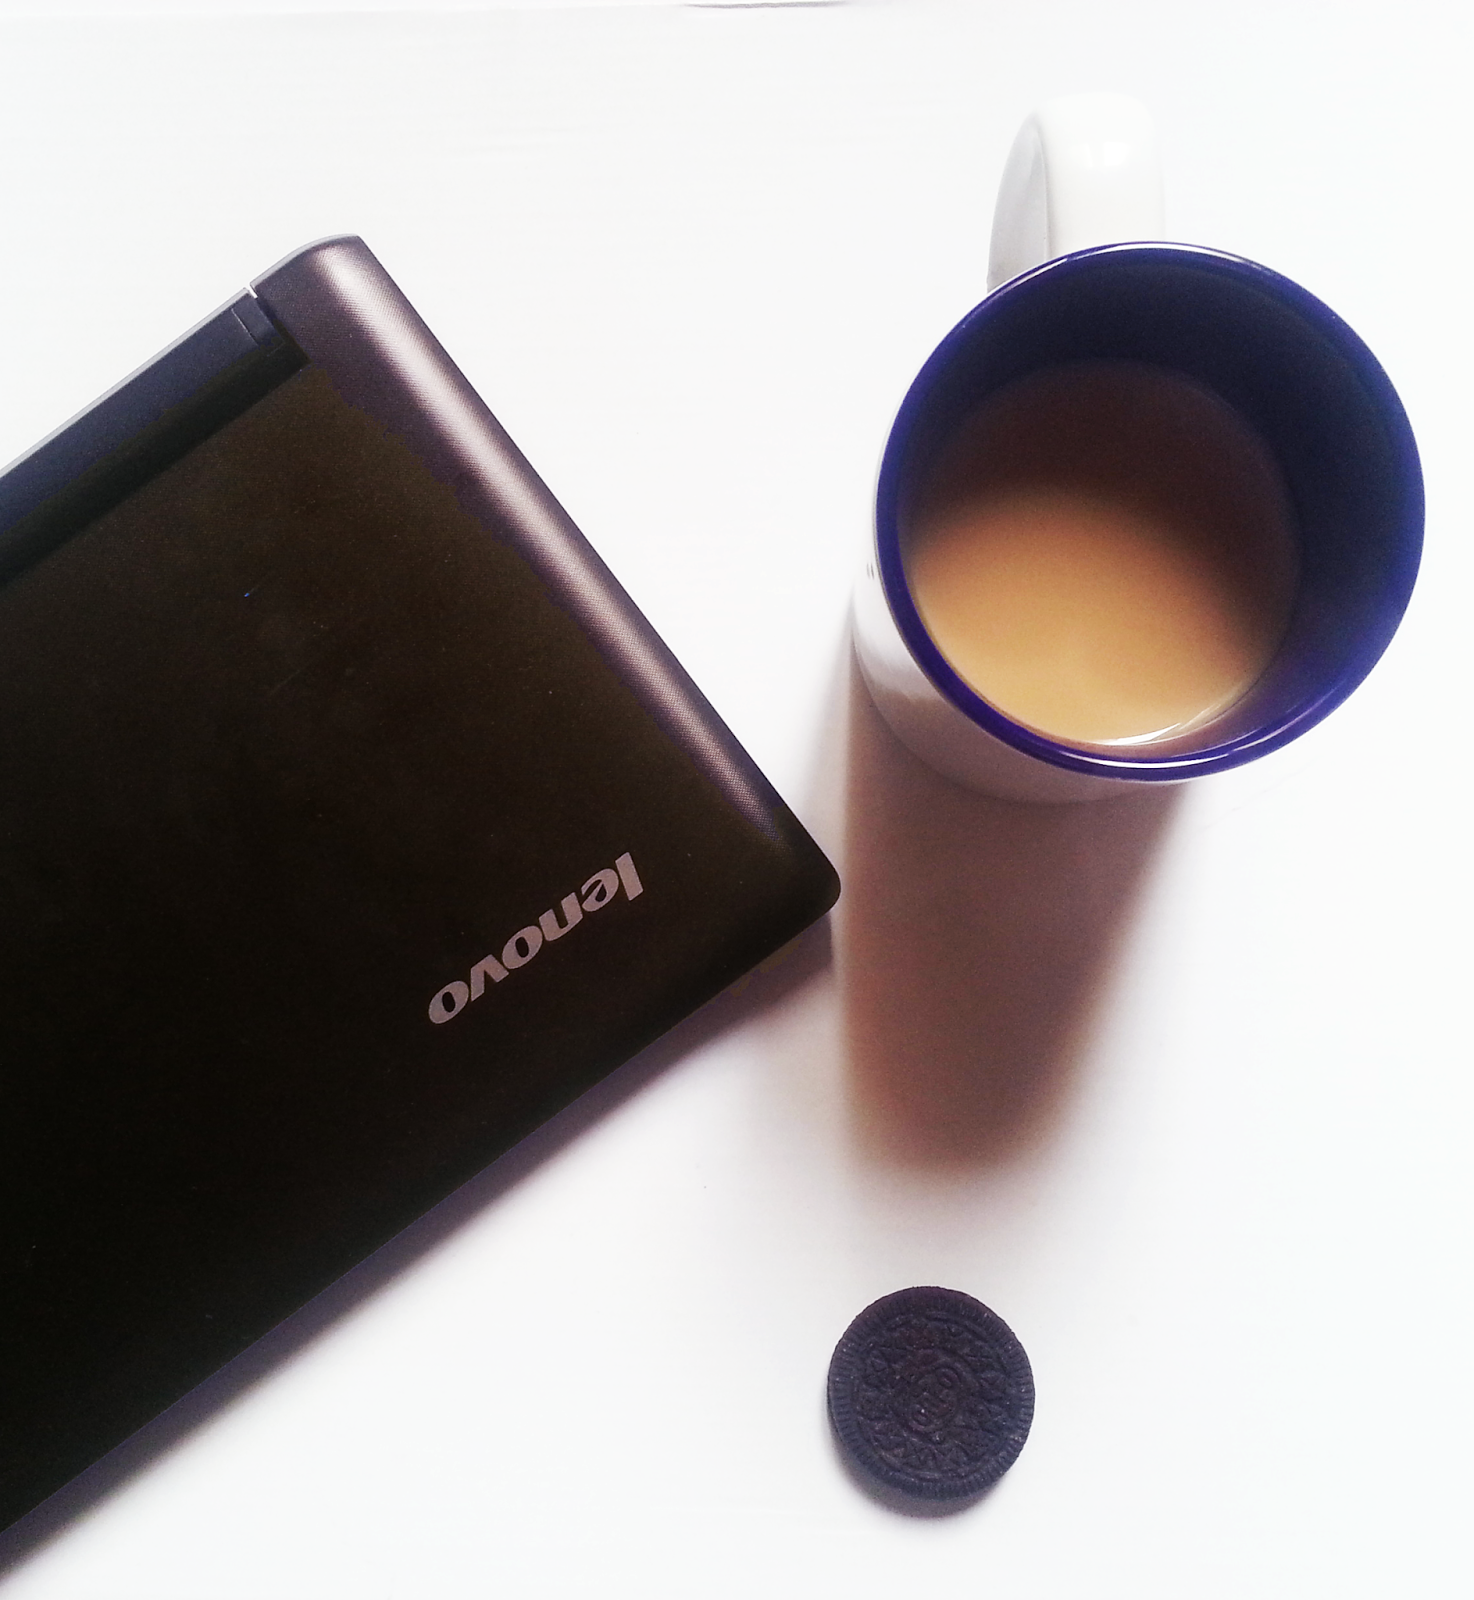
Product pictures are a hit these days, every blogger take
them and sometimes brand themselves do it, and instead of making a model wear
it. Some other bloggers take it for the blogging tips post like me. And some
people do it just for fun, like me. The thing is, sometimes you see a great
picture on Instagram or taken by your favorite blog and you ask yourself how do
they do it? How do all of the bloggers have a white background, is it a coincident
or are they doing it on purpose? I know I asked myself these questions before I
knew a couple of tips that really helped me up my bird’s view pictures and
right now I enjoy taking photos for stuff lying around, when I am bored.
My photos might not be the best photos for these kind of
pictures, but here are two things, first I think they are pretty good
considering they are taken by a mobile phone camera and second thing I am
really proud of how they turned out to be. That is why I decide to write this
post, so it can help those who are in need to produce these pictures for your
blog or Instagram account or if you are simply into photography and want to develop
your skills a little bit.
1.
If you don’t have a white
marble or table or floor in your house, don’t worry I don’t too. A very easy
way to get the effect of these background is by buying a white cartoon from any
art shop near you.
2.
Stand near a window
especially on the spot where you notice that most of the light falls into. Make
sure that the light is falling on the object you are taking your photos for.
3.
Put your phone or your
camera over the object and make sure you are holding it on a shoulder length and
the camera is not pointing upward or downward, just straight ahead.
4.
If you notice that the best
pictures you see for this kind of act are always in odd number. So if you are
shooting two products together, add a third item or accessories it will make it
look better. I don’t really know why, but I am pretty sure there is a study
that has been done somewhere by somebody.
5.
Finally, like any other
picture, you would want to have a theme for it that all the item in your
pictures is falling right into it. In the above picture I wanted a blogging
tips shot, so I added my laptop, my cup of coffee and an Oreo cookie. As you
see they are all falling in the theme together. Some people would add notebooks and pencils or
if they are taking about make up you would find makeup lying around.
These are my tips for taking pictures for your products or
taking item pictures for your blog, do you have any tips, I would really love
to know about them.
Don't forget to Follow to get the latest posts delivered to you.


I did not know how to flat lay like a pro but thanks to you now I do.Thank you so much for sharing!!
ReplyDeletewww.fashionstylemogul.com
You are welcome. Glad you found it helpful.
DeleteLoved this post so much! I really needed it =) I do have one question though. Whenever I take my own flat lays I find my own shadow being in the way. How can I reduce this?
ReplyDeleteThanks for reading my post and I think if you find shadows, you will need to choose a different angle or a different time where the sun won't give you the shadow effect.
Delete